|
<< Click to Display Table of Contents >> Adding a New Surface |
  
|
|
<< Click to Display Table of Contents >> Adding a New Surface |
|
The Surface tool is located in the tools palette at the top of the screen. It allows you to add surfaces to your plans. You can add surfaces, delete surfaces, select surfaces and choose colors/patterns for surfaces. The surface tool is available as an option in the same area as the wall tool. The wall tool is displayed by default but you can switch it to the surface tool. The appearance of new surfaces is based on the default surface settings.
| 1. | Click on the |

| 2. | A drop-down list of the options available under the wall tool menu is displayed. |
| 3. | Select the surface tool by clicking on the icon of a rectangle. |
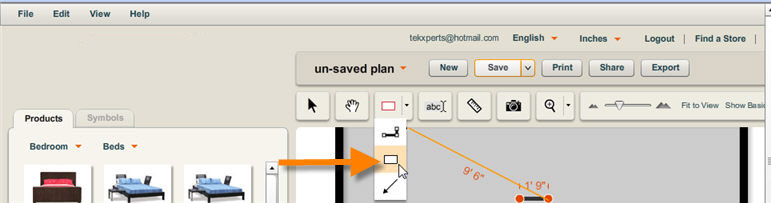
| 4. | Once the surface tool is selected, it will be displayed in the tools palette until you select the wall tool or the line tool. |
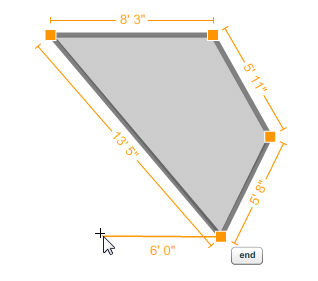
| 5. | Using the surface tool, click and drag on the workspace to create a surface at the size you want. A rectangular surface shape will be created. |

| 6. | Alternatively, you can use the surface tool to click multiple times on the workspace to create irregular surfaces or surfaces with numerous surface points. |
| • | To modify a surface, select the surface using the selection tool. The surface area info panel will appear containing clone and delete functions, the square footage and color and pattern controls. |

Click on the links below to learn more about each of these actions.