Surfaces are created with the default color specified for surfaces using the Tool Defaults option of the Edit menu. The color of the surfaces, light gray by default, can be changed using the options available in the surface area info panel.
To Add/Change Surface Color:
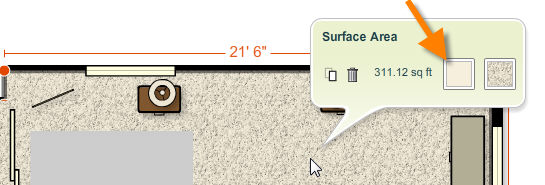
| 1. | Select the surface using the selection tool. The surface area info panel will be displayed. |
| 2. | There are two squares displayed to the right of the surface area info panel. The square on the left displays the current surface color. The square on the right displays the current surface pattern. |
| 3. | Click on the square on the left to pick a new color for the surface. A color palette will be displayed with the available colors. |
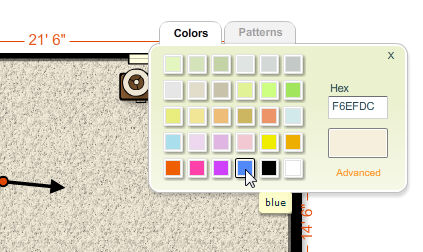
| 4. | Select the new color for the surface by clicking on it. |
| 5. | When you select a new color, the box will update to display a preview of the new color and the surface in the workspace will display the new color. |
| 6. | Click on the Advanced link below the color preview box to choose a custom color. The custom color picker will be displayed. |
| • | Create your custom color using controls for hue/saturation and brightness or type in specific values for hue (H), saturation (S) and brightness (B) or the Hex value. These colors can be copied from another image editing program or copied from other objects in Icovia that you want to use for color matching. |
| • | To go back to the color palette, click on the Basic link. |

| 7. | Once you find the color you like, click on the  button in the top right corner of the color palette to close it. button in the top right corner of the color palette to close it. |
| 8. | The surface will now display the new color. |


