Surface segments can be curved after they’ve been added to your floor plan.
To Create a Curved Surface Segment :
| 2. | Click on the surface segment you want to curve in the workspace. |
| 3. | Press CTRL+SHIFT+CLICK to add a curve point.(For Mac, use Command (Apple key) Shift click). The curve point is displayed as a + sign. This will be the point at which the surface point will be curved. You can add more that one curve point to a surface segment. |
| • | Drag the + sign to the right to curve the surface segment inwards. |
| • | Drag the + sign to the left to curve the surface segment outwards. |
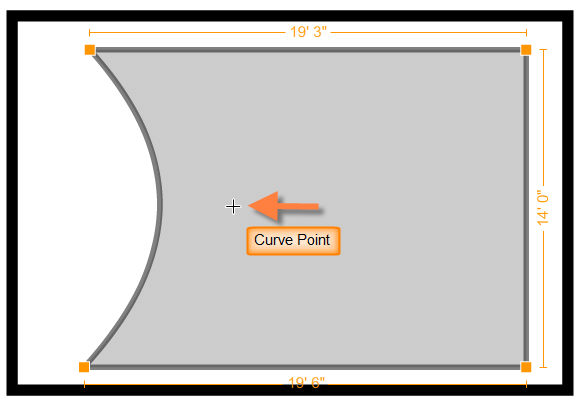
| 4. | The selected surface segment will be curved. |
| 5. | To delete a curve point, click on the  that appears when you hover your cursor over the curve point. that appears when you hover your cursor over the curve point. |
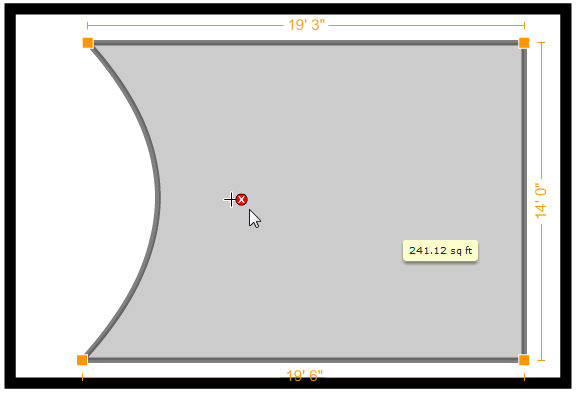
| 6. | The curve point will be deleted and the surface segment will revert back to a straight segment. |


