|
<< Click to Display Table of Contents >> Create a New Plan |
  
|
|
<< Click to Display Table of Contents >> Create a New Plan |
|
When you launch the Icovia application, you’re presented with a window that allows you to choose an existing room design or create an empty room using your own room dimensions. Once you make a selection, a default room design is displayed in the workspace.
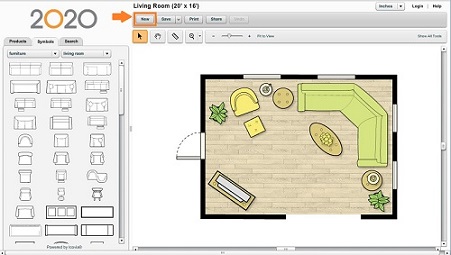
To start a new plan from the main workspace:
| 1. | Click the New button in the top panel above the tools palette. |
| 2. | A window appears that allows you to choose an existing room design or create an empty room using your own room dimensions. |
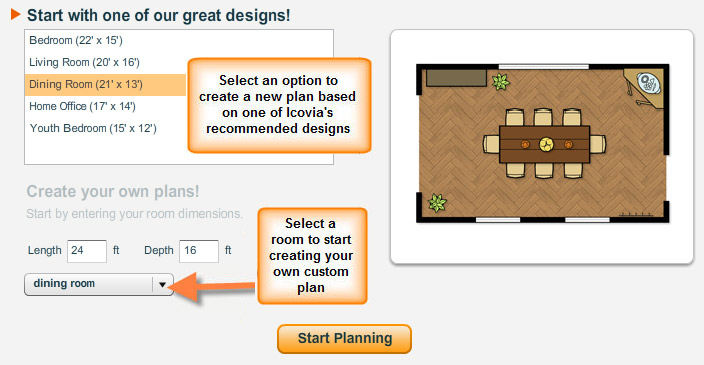
| 3. | Click on the OK button when you have made your selection. |
| • | If you selected an existing design, the selected design will be loaded and displayed in the workspace. |
| • | If you chose to create your own plan by entering your own dimensions, an empty room matching the dimensions you entered will be displayed in the workspace. |
| 4. | Once your design appears in the workspace, you can add structural items, furniture, and plan notation like text, lines, and photos to customize your room design. You can use a variety of tools available in the tools palette to enhance and navigate your plan. And you can save, print, share/email the plan at any point. |