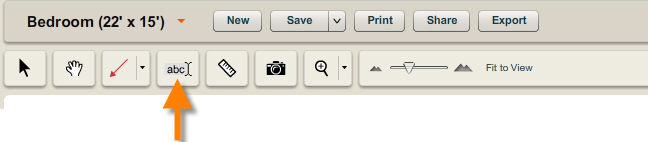
You can add comments, labels and other notation to your floor plans using the text tool. The text tool is located in the tools palette at the top of the screen.
Note: The text tool is an advanced design feature and is revealed by clicking the Show All Tools link in the top right corner of the screen.
To Add Text:
| 1. | Select the text tool from the tools palette. |
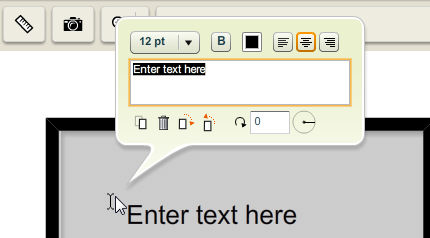
| 2. | Click on the area of the workspace where you would like to place the text. |
| 3. | Type the text you wish to add, using the return key on your keyboard to start a new text. |
| 4. | When you are finished, click another location in the work area to add another text notation or click on the selection tool from the toolbar to continue working on your plan. |
To Modify Text Appearance
Once you create text, it can be edited at any time using the text info panel.
To change the appearance of existing text:
| 1. | Select text in your plan using the selection tool. |
| 2. | The selected text will appear highlighted and the text info panel will appear. |
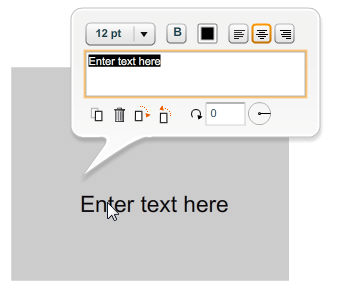
| 3. | You can modify the following text properties using the text info panel: |
| • | Text size – The drop-down button to the right of the text size field displays the current text size. Click on the  sign to view a drop-down list of available text sizes. Select a size by clicking on it. The selected text will reflect the new text size. sign to view a drop-down list of available text sizes. Select a size by clicking on it. The selected text will reflect the new text size. |
| • | Bold button – The square button ( ) to the right of the text size field displays the current text style. Click on the button to display the text in bold font. The button will appear highlighted. Click on the button again to display the text in normal font. ) to the right of the text size field displays the current text style. Click on the button to display the text in bold font. The button will appear highlighted. Click on the button again to display the text in normal font. |
| • | Text color – Click on the square to the right of the bold button to pick a new color for the text. A color palette will be displayed. Select the new text color from the color palette. The text will be displayed in the new color. |
| • | Text Alignment – The three buttons to the extreme right of the text info panel display the current text alignment. The selected alignment will be highlighted. Click on any of the other alignment buttons to change text alignment. |
| • | Rotating Text: There are several ways to rotate text. You can rotate text using the rotate handle, by entering a rotation angle in degrees, by spinning the angle dial or by using the rotate by 90˚ text buttons located at the bottom of the text info panel. |
| 4. | You can also clone and delete the text using the clone ( ) button and delete ( ) button and delete ( ) button. ) button. |
| 5. | Move your cursor away from the text info panel to close it. |


