|
<< Click to Display Table of Contents >> Measuring |
  
|
|
<< Click to Display Table of Contents >> Measuring |
|
There are several object types in Icovia that display dimensions automatically. For example, walls, surfaces and placed products and symbols all display their dimensions when you select them in your floor plan.
If you want to measure other areas of your floor plan like the distance between a sofa and an occasional table, you can use the dimension tool.
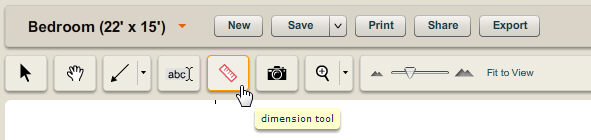
The dimension tool is located in the tools palette at the top of the screen and is just like using a measuring tape. It is a quick way to calculate the distance between two points. The dimension tool creates measurements that appear on your floor plan. You can delete the measurement or leave it on your plan as reference.
| 1. | Select the dimension tool from the toolbar. |
| 2. | Click once in the work area to set the location of the first point. |
| 3. | Click again to set the location of the second point. When you set the second point, you will see the line remains with the distance indicated on the line. |
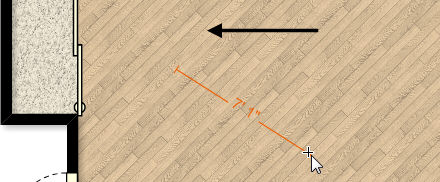
| 4. | Alternatively, you can click and drag using the dimension tool to set the first and second points with one click and release of your mouse. |
| 1. | Select a measurement by clicking on it using the selection tool. |
| 2. | The measurement info panel appears with a variety of controls for manipulating the measurement. |
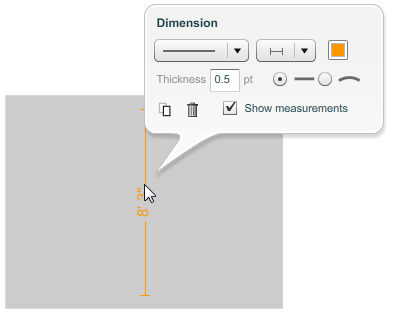
| 3. | Click the |