Symbols that you add to your plan will appear white by default. However it can be changed to a color of your choice using the symbol info panel. Changing the color of a symbol is as simple as clicking on a color swatch. You can choose from a set of basic colors or create a custom color of your choice.
To change the color of a symbol
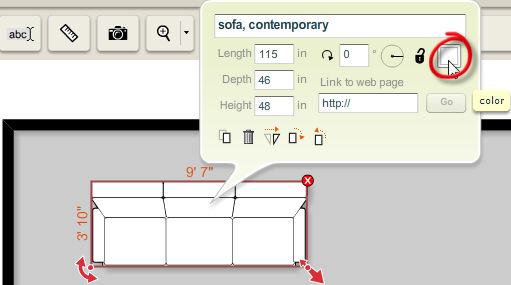
| 1. | Select a symbol by clicking on it using the selection tool. |
| 2. | The symbol info panel appears with a variety of controls for manipulating the symbol. |
| 3. | Click on the white color square to the right of the  button to pick a color for the symbol. button to pick a color for the symbol. |
| 4. | Select the new color for the symbol by clicking on it. |
| 5. | When you select a new color, the box will update to display a preview of the new color and the symbol in the workspace will display the new color. |
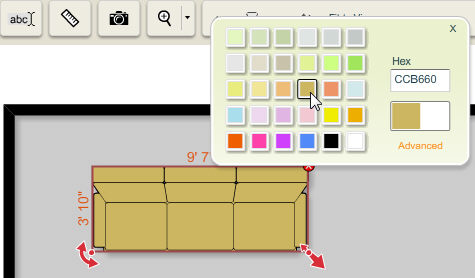
| 6. | Click on the Advanced link below the color preview box to choose a custom color. The custom color picker will be displayed. |
| • | Create your custom color using controls for hue/saturation and brightness or type in specific values for hue (H), saturation (S) and brightness (B) or the Hex value. These colors can be copied from another image editing program or copied from other objects in Icovia that you want to use for color matching. |
| • | To go back to the color palette, click on the Basic link. |
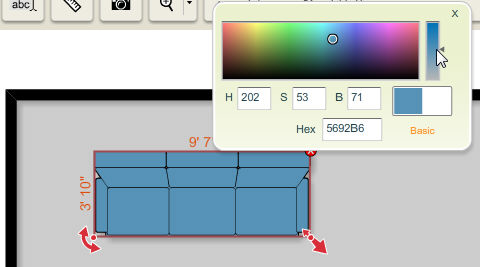
| 7. | Once you find the color of your choice, click on the  button at the top right corner of the color palette to close it. button at the top right corner of the color palette to close it. |


